The Forbidden Tomes of Olipos Map Hub
Orient Fulah, harbors, ruins, and the sealed island route.
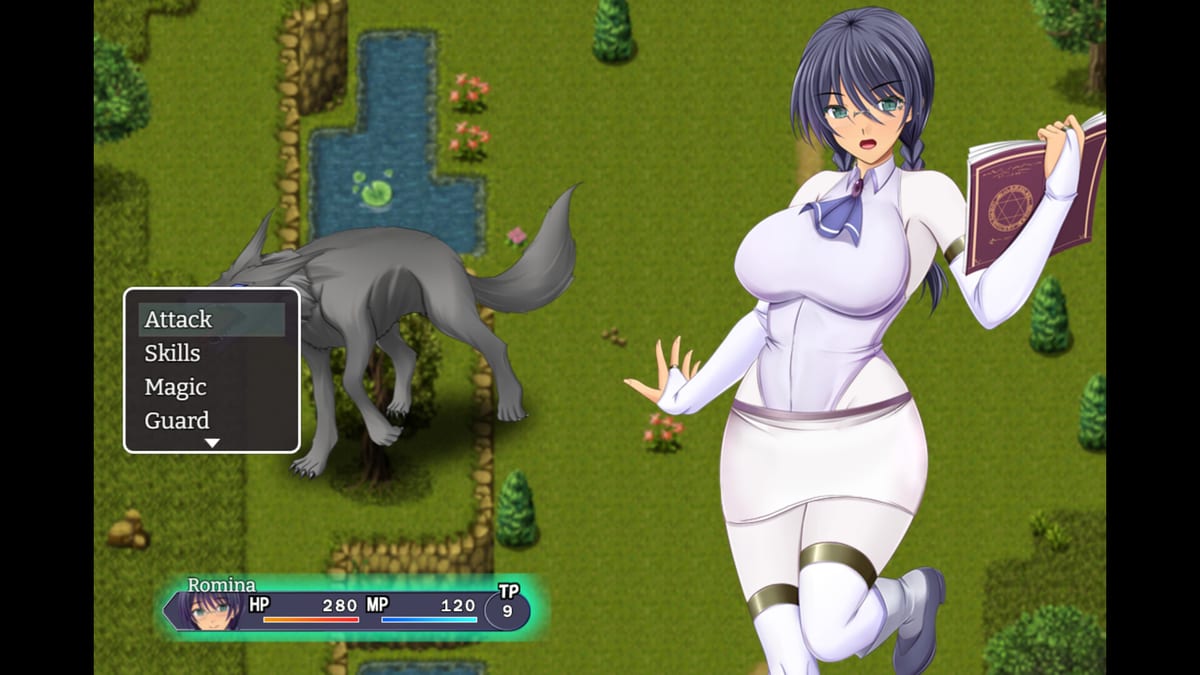
How the world is laid out
The Forbidden Tomes of Olipos uses a compact overworld anchored on Fulah, the mountain village that acts as Romina’s hometown hub. From there you branch northeast toward sealed caves and ruins, southwest toward Ripool Harbor, and eventually by ferry to the Sealed Isle. This Map Hub explains spatial relationships; the Walkthrough Hub explains why you go.
Read World Overview for the full mental model. Use Fulah when you are shopping, sleeping, or chasing NPC flags. Open Ripool & Island for harbor, tavern, ferry, and isle approach notes. Keep Dungeons open for Seal Cave, Dorna Ruins, and finale structure, including crystal teleporter logic.
Direction cheatsheet
- South of Fulah: merchant Mottl and early tips
- Northeast: Forbidden Seal Cave, later Dorna Ruins
- Southwest: Ripool Harbor, inn basement, tavern Cattleya, ferry
- Ferry from Ripool: Sealed Isle for Zahal and Olipos
Japanese labels you may see in guides: フウラ村 (Fulah), 禁書の封印洞 (Forbidden Seal Cave), リプール港 (Ripool Harbor), ドルナ遺跡 (Dorna Ruins), 封じの孤島 (Sealed Isle).
Exploration habits that matter
Use the glasses toggle from Controls when the environment looks suspicious. Bunny-costume hint NPCs can nudge you if a door or cave mouth is easy to miss. Chest density is modest but meaningful because gear and relics feed Crafting Recipes and Equipment.
Cleared dungeon enemies becoming touch-to-defeat is a map QoL feature as much as a combat one. It encourages finishing rooms the first time, then sweeping medals later with the Medal Tracker. Do not assume a dead-end is empty until you have checked corners after story flags change.
Dorna Ruins specifically asks you to move crystal objects to enable teleporters. That is a spatial puzzle first, fight second—sketch the room if needed, then continue the Dorna Ruins steps.
Page map
| Page | Focus |
|---|---|
| World Overview | Regions and travel order |
| Fulah | Hub services and exits |
| Ripool & Island | Harbor, ferry, isle approach |
| Dungeons | Seal Cave, Dorna, Sealed Isle layout notes |
Pairing maps with other hubs
Characters who stand on these maps are listed in the Characters Hub. Item sources by region appear in the Items Hub. Expectation setting for travel length sits in the Review Hub—this is a short campaign, not a continent hopper.
If you ever feel lost, return to Fulah, re-talk Mottl or Cattleya as appropriate, and confirm the next named region on World Overview. The critical path never requires random wilderness wandering for hours; if you are doing that, a story flag is probably waiting in town.
Use this hub as a compass, not a spoiler novel. When you need fight advice inside a dungeon, pivot to Boss Fights. When you need exact NPC lines and quest order, pivot to the matching walkthrough page. Together they keep a four-to-six-hour JRPG feeling crisp instead of confusing.
Frequently Asked Questions
Quick answers for librarians chasing forbidden tomes.
Where is the first dungeon from Fulah?
Northeast to the Forbidden Seal Cave. See [Fulah](/map/fulah/) and [Seal Cave](/walkthrough/seal-cave/).
How do I reach the Sealed Isle?
Ferry from Ripool Harbor after the island tip from Mottl. Notes in [Ripool & Island](/map/ripool-island/).
What makes Dorna Ruins unique on the map?
Crystal objects that enable teleporters. Overview in [Dungeons](/map/dungeons/) and steps in [Dorna Ruins](/walkthrough/dorna-ruins/).
Is the overworld large?
No. It is a compact JRPG map centered on Fulah with a few key branches—see [World Overview](/map/world-overview/).
Can I revisit dungeons?
Yes. Later, cleared enemies become touch-to-defeat, which helps medal and chest cleanup.